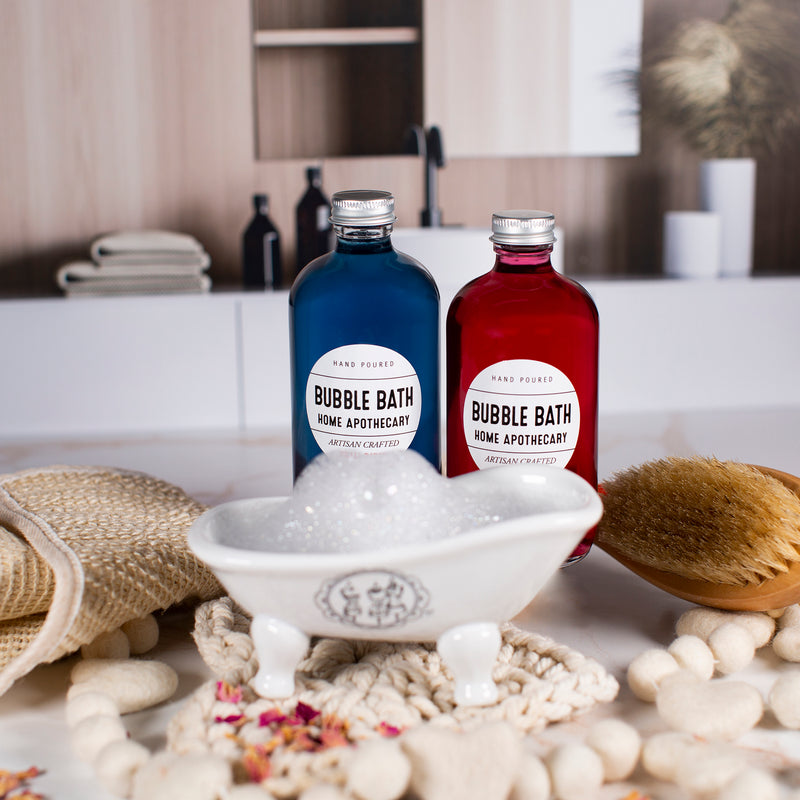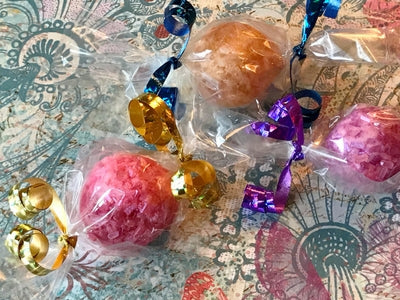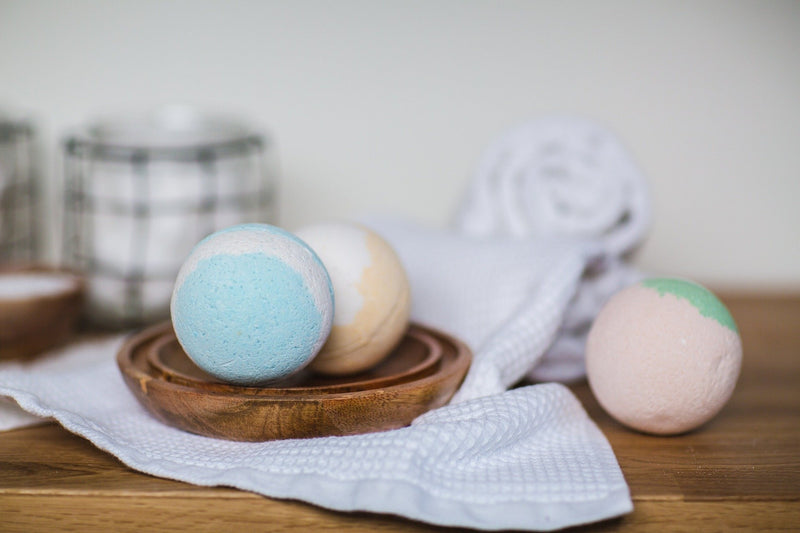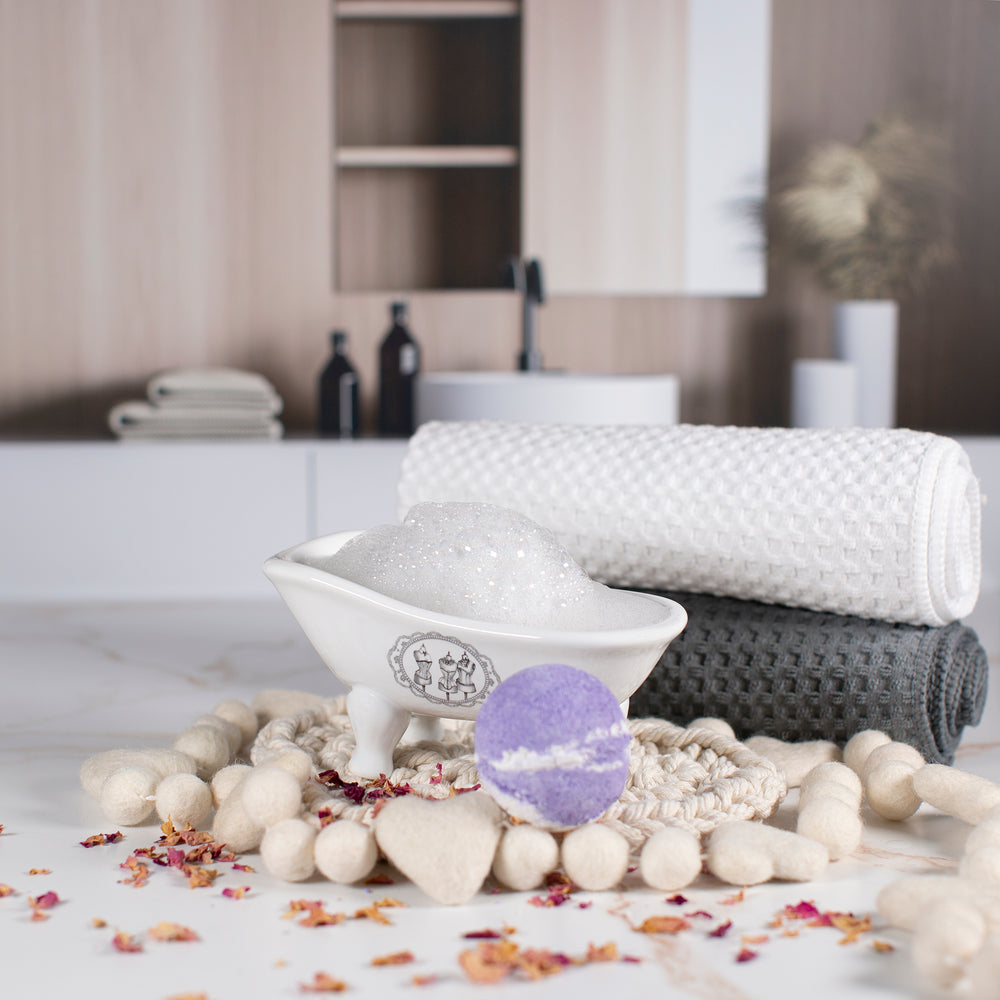
Bath Bombs continue to be one of the most popular bath products on the market today, a gift both loved to be given and received. Our Bubbling Bath Bomb formula takes the traditional bath bomb to a whole new level, providing the same burst of fizzing colour and scent but with the addition of luscious bubbles.
It's fun in the tub for all ages!
With some retailers charging upwards of $10 per bath bomb, making these bubbling bath bombs is not only a fun craft but also an economical one. Customize your bubbling bath bombs with a rainbow or colours, aromatherapy essential oils or one of our hundreds of fragrance oils. With this bubbling bath bomb mix formula, the possibilities are endless for your unique creations.
FORMULA
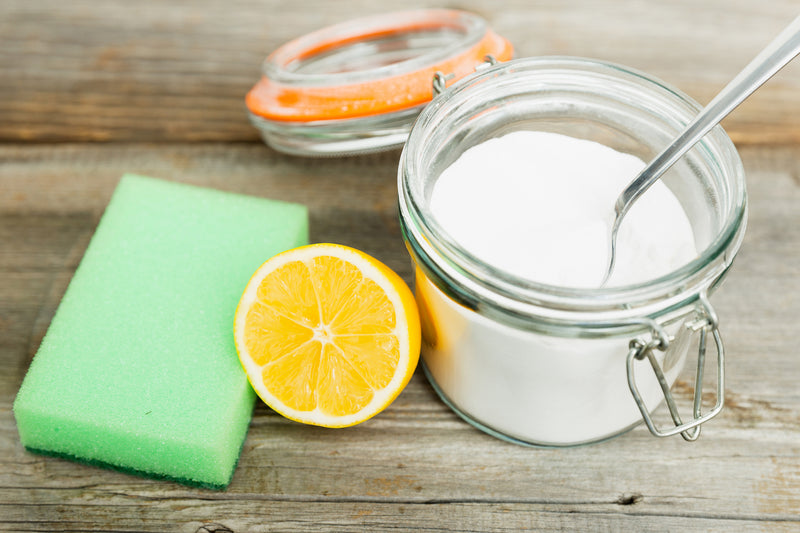
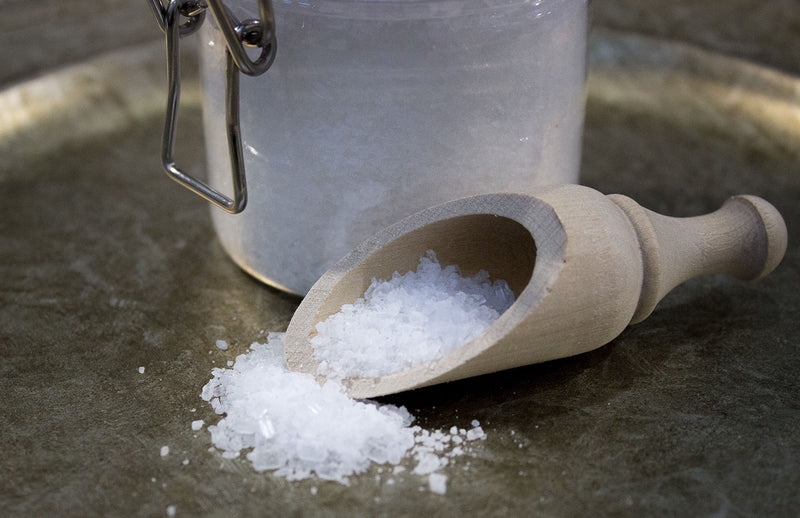
2 Cups Sodium Bicarbonate
1 Cup Citric Acid
1/2 Cup White Kaolin Clay
1/2 Cup Lathanol LAL Powder Surfactant - SLSA
Additional Recommended Equipment / Supplies
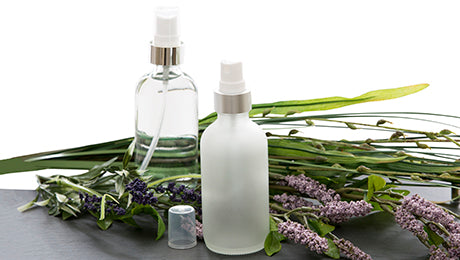
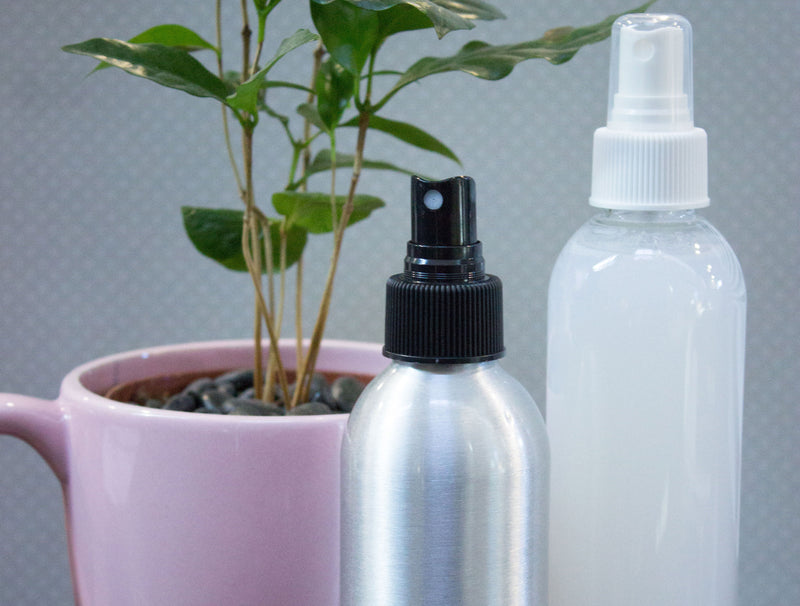
- Witch Hazel in a Mister Bottle
- Water in a Mister Bottle
- Measuring Cups
- Bowls
- Molds
- Paper Towel
- Spoons / Stir Sticks
- Gloves
- Mask - recommended when working with fine powders
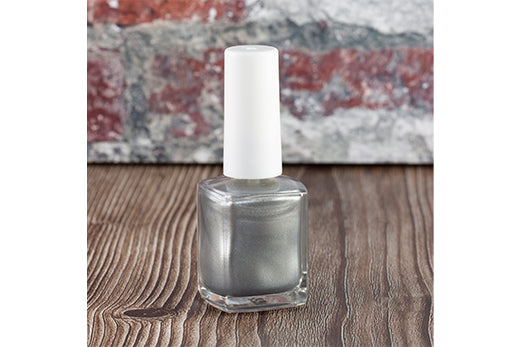
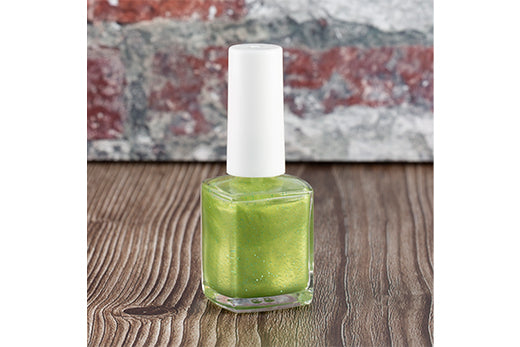
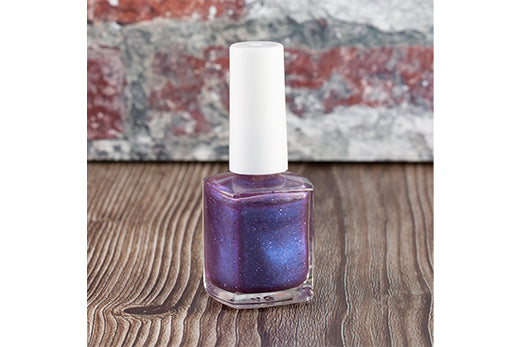
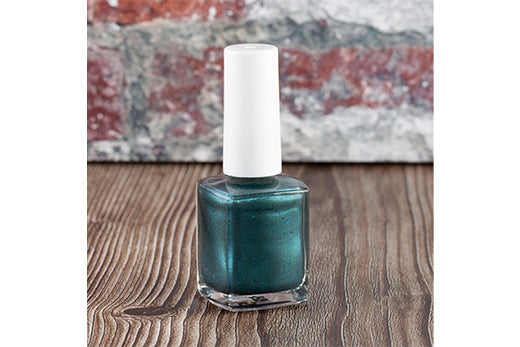
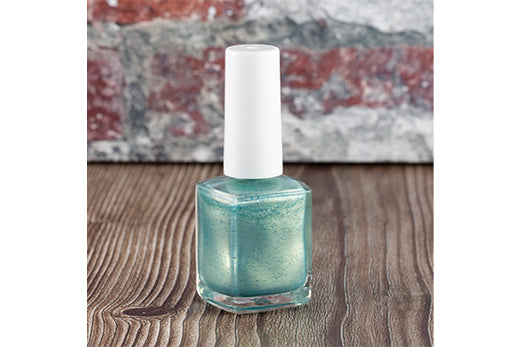
- Jewel Tone Liquid Colour / Cosmetic Micas / Bath Bomb Lake Colours
- Neon Powder Colourants / Bio-Glitter
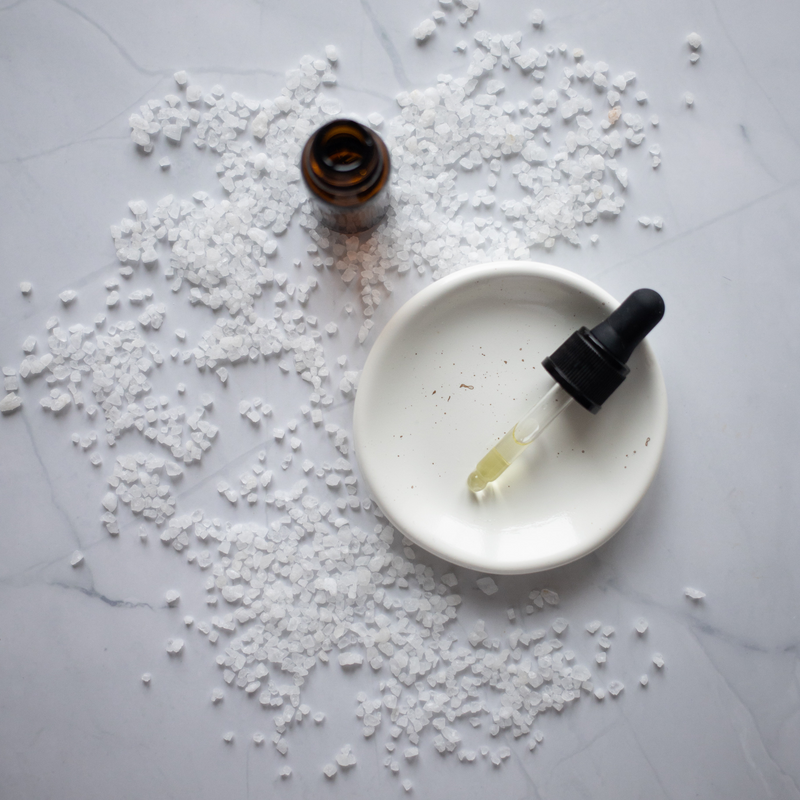
- Fragrance Oils and/or Essential Oils
INSTRUCTIONS
There are two ways to colour bath bombs, the first is to combine your powdered items and add the colour all at once to the complete mix. This works well and is a common colouring technique used by many for making beautifully coloured bath bombs.
The second option, which will be outlined below, is called Colour Blooming. This technique will help you to achieve more vibrant colours in your bath bomb and bubbling bath bomb creations.
- Begin by putting on your gloves and mask and covering your work surface with a old tablecloth or newspaper. You will be working with finely powdered ingredients as well as concentrated colours and scents so it is important to protect yourself and your work area.
- Place your sodium bicarbonate in a bowl and add your choice of powder or liquid cosmetic colourant. We offer many cosmetic colourant choices that are approved for use in bath products, including Bath Bomb Lake Colourants, Jewel Tone Liquid Colourants, as well as many Neon Powder Colourants and Cosmetic Micas that are approved for bath products as well. Visit our website to see all our colourants and their usage recommendations. These colourants are quite concentrated so start with a small amount and add more as desired. Keep in mind that your mixture will get lighter once you add the citric acid, kaolin clay and lathanol, so stir the colour into the Sodium Bicarbonate thoroughly and go slightly darker than you would like the final Bubbling Bath Bomb to be.
- Once the colour has been mixed into the Sodium Bicarbonate, and minimal white chunks are visible, wet the product with water. Misting is best; however, you can add water in small amounts at a time if you do not have a mister bottle. You will notice your coloured Sodium Bicarbonate will become much more vibrant with the water added.
- Once the coloured sodium bicarbonate has been wetted (just damp, not too wet), you will want to set it aside to dry. It is best to allow the product to dry completely, so we recommend leaving the mix for a few hours or overnight. You have now successfully Colour Bloomed your mix!
- Once your coloured sodium bicarbonate has sufficiently dried, it is time to add the citric acid, white kaolin clay and Lathanol LAL Surfactant Powder.
- You will notice the colour of your complete mix will now be a few shades lighter. You can add additional colour at this time if you feel it has gone too light.
- The next step is to add your fragrance oil or essential oil. We recommend adding the scent drops at a time. Adding too much fragrance at one time can cause the mixture to activate. How much fragrance to use depends on how strong you want your bath bomb to smell but we would recommend around 1-2% fragrance oil since your finished bubbling bath bomb will be going into bath tub of water and you want enough scent to burst out when activated.
- Once your fragrance is added and the strength is to your liking, it is time to add your witch hazel and begin creating the bubbling bath bombs.
- Begin to spritz your mixture with witch hazel. You can use water but witch hazel distillate contains 14% alcohol, which will evaporate quicker than just water, allowing you to get your bath bombs from the molds faster. Ensure that you are mixing thoroughly every 2-3 spritzes to ensure an even coat on the mixture. Don't be afraid to use your gloved hands to help get your bubbling bath bomb mix combined with the witch hazel and at the right level of dampness to hold together. You want to add witch hazel until you can grab some mixture, squeeze it, and have it remained in a formed chunk and not still be dry and crumbly.
Note: Be careful not to over-wet the mixture. Adding too much witch hazel can cause the ingredients to slowly activate. A bath bomb mixture that has been over saturated will start to “balloon” or expand while it is in the mold and once it has been removed from the mold, may continue to expand, and lose its shape.
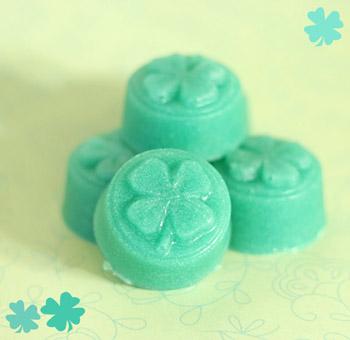
- Now its time to get that mix into the molds! You can use any choice of decorative single cavity Milky Way Mold, Silicone Mold or 2-Part Plastic or Stainless Steel Ball Style Bath Bomb Mold. Get creative here by layering colours and creating different colour combinations and designs. Even sprinkle in a little Bio-Glitter or extra Mica for added shimmer.
- Press the mixture firmly into the molds. Since the alcohol content in the witch hazel will be evaporating, if you find your mix is crumbling and not holding together simply put it back in the bowl and add a bit more witch hazel. If using the plastic milky way molds or silicone molds, you should be able to turn over your mold and pop your finished bubbling bath bomb out after just a couple minutes. We recommend you remove them from the molds directly onto a piece of cardboard or a cookie sheet to be set aside to fully harden. Bubbling Bath Bombs are usually fully hardened after a few hours, so leave them undisturbed until then to avoid them breaking or falling apart.
If using the 2-part Ball Style Bath Bomb Molds, you will need to fill each half first. Ensure that you are gently pressing the mixture into the mold as you fill each side. Once you have filled each half of your mold, add a small amount of extra loose mixture to each. This will help the two halves to stick together. Bring the two halves together and press firmly. We recommend using a length of masking tape around the mold (and/or Rubber Bands) to help keep it together during the drying process. When using the round bath bomb ball molds, allow your bath bombs to set for a few hours or overnight before removing from the molds to ensure the two halves have adhered.
Making Bubbling Bath Bombs can take a bit of practice, but once you've made a few you quickly discover the best consistency for the mix and how to master making the perfect bath bomb. And even if a few fall apart during the learning process, they still work great in the bath and you can tell your family you need to head to the bath to do some serious product testing!!